Answer
May 02, 2024 - 02:58 PM
Yo do not need a tool...
You need:
a Programmed Remote
and a Soldering Iron
First Open the remote shell to remove the programmed PCB Board and place it to the side
Next, remove the case back of the LCD Remote to reveal the wire harness.
Carefully remove the wire harness and take note of the wire color order in relation to the PCB Board Contact points.
Attach each wire according to the guide to the diagonally opposed solder points of each button and the battery connectors on the rear
Once complete, insert the harness back into its slot with care, place the PCB into the Remote Case and xxxx it shut.
Many customizing options are available for screen touch times, signal sensitivities, battery saving and aesthetic of screen and button layouts.
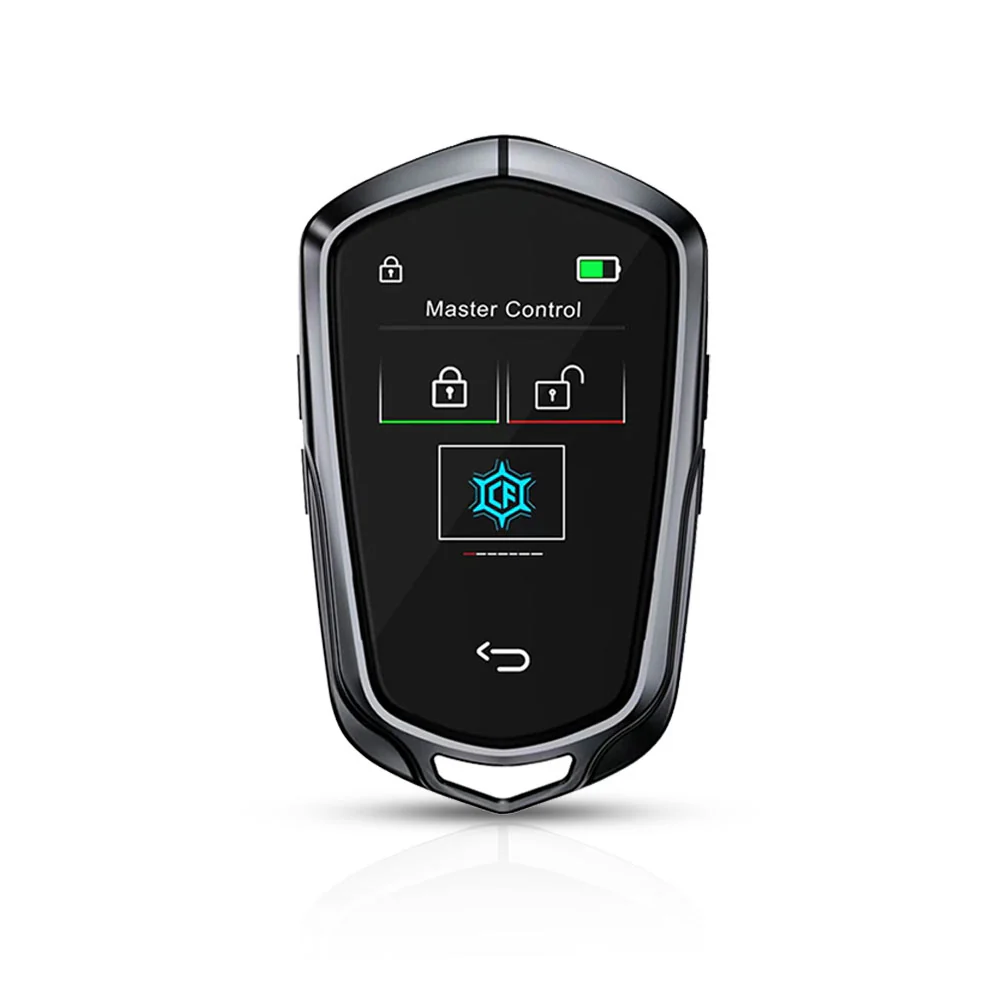
Now we can test the remote functions using the LCD Remote
And Keyless Enter & Go